
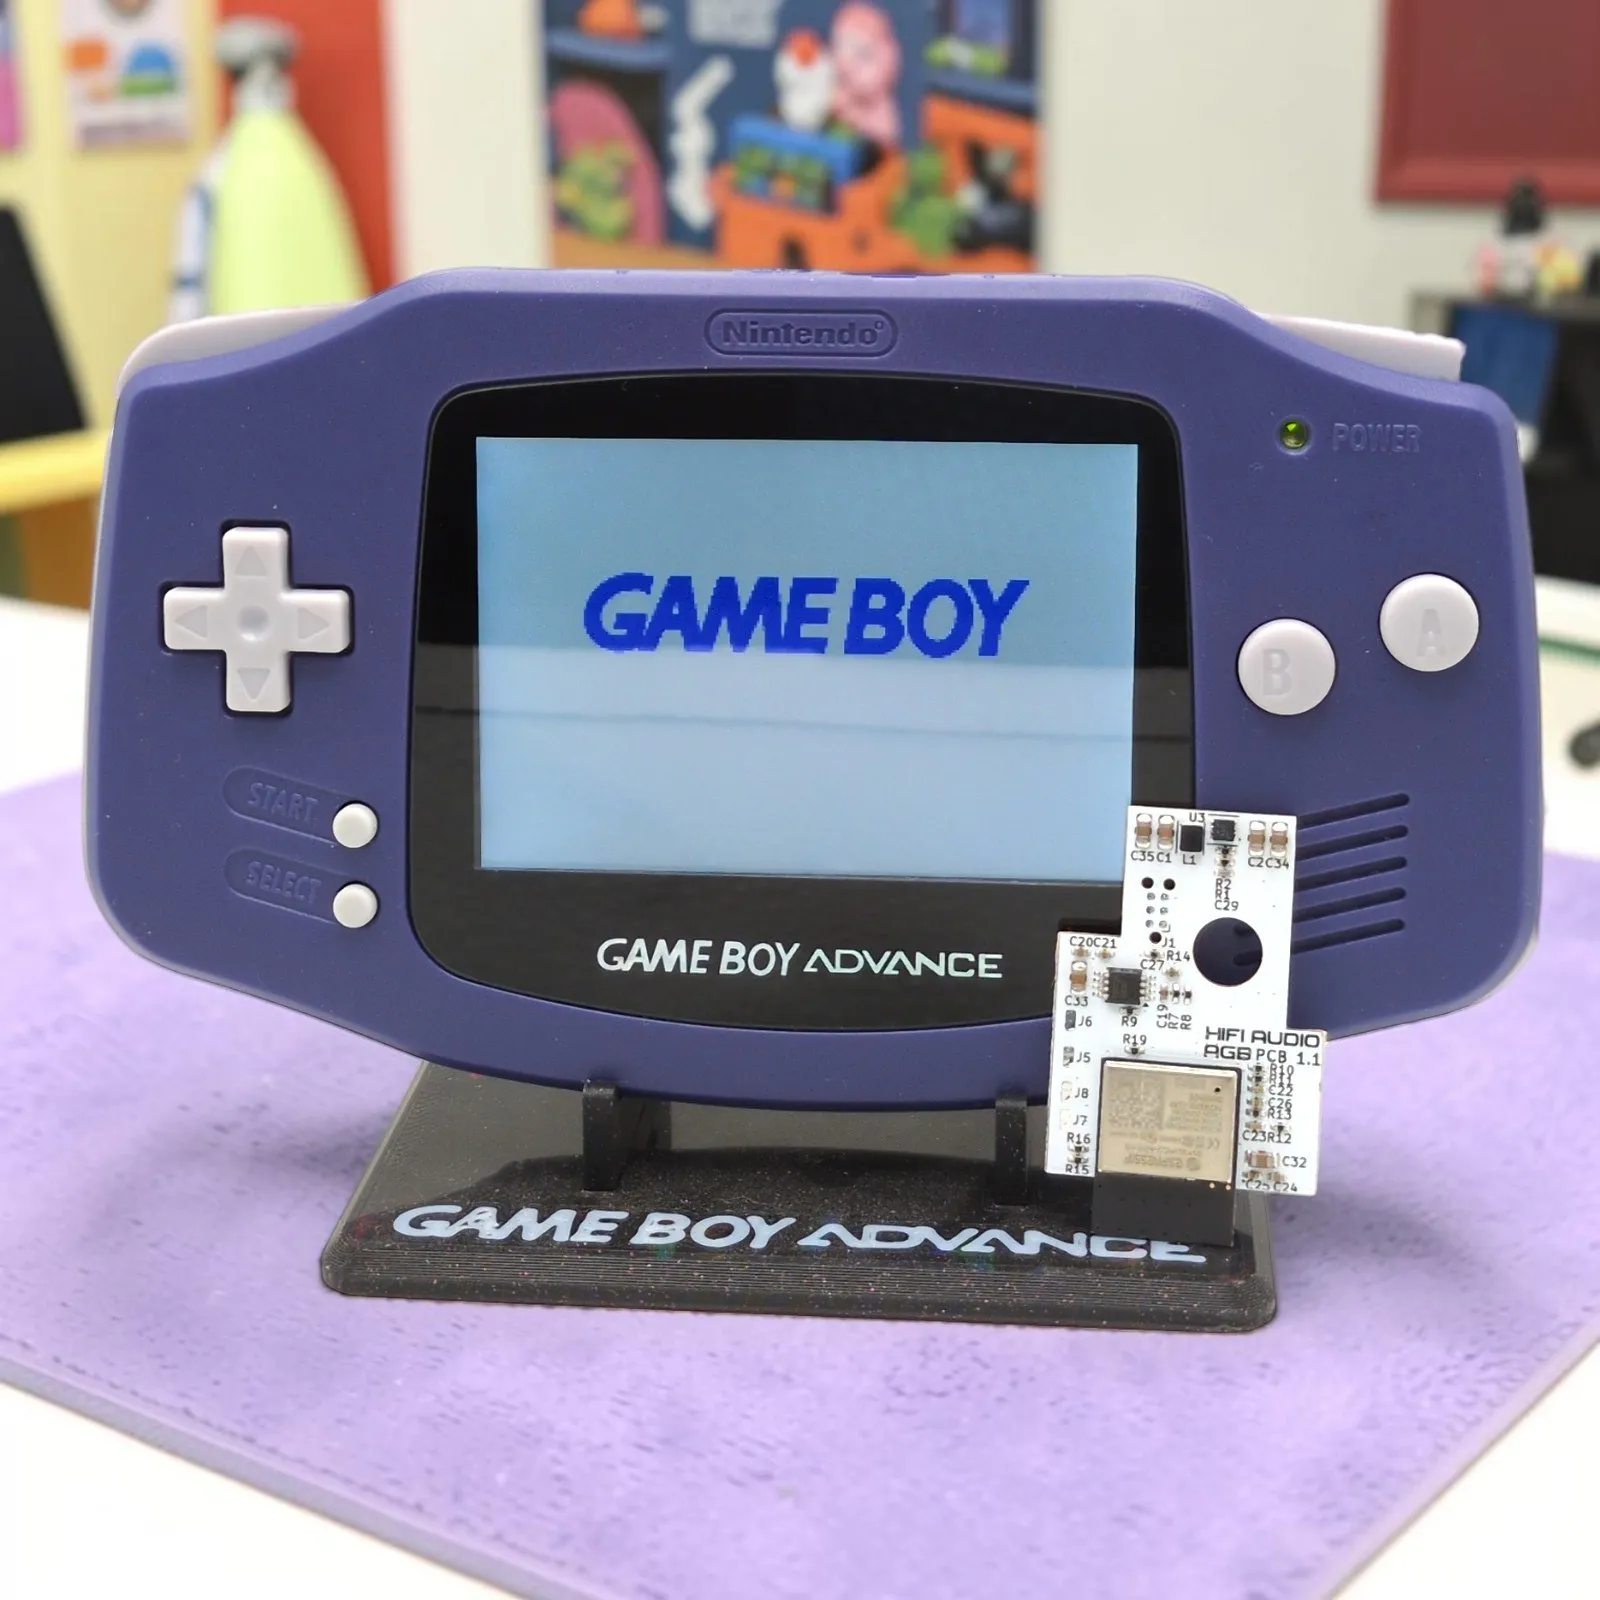
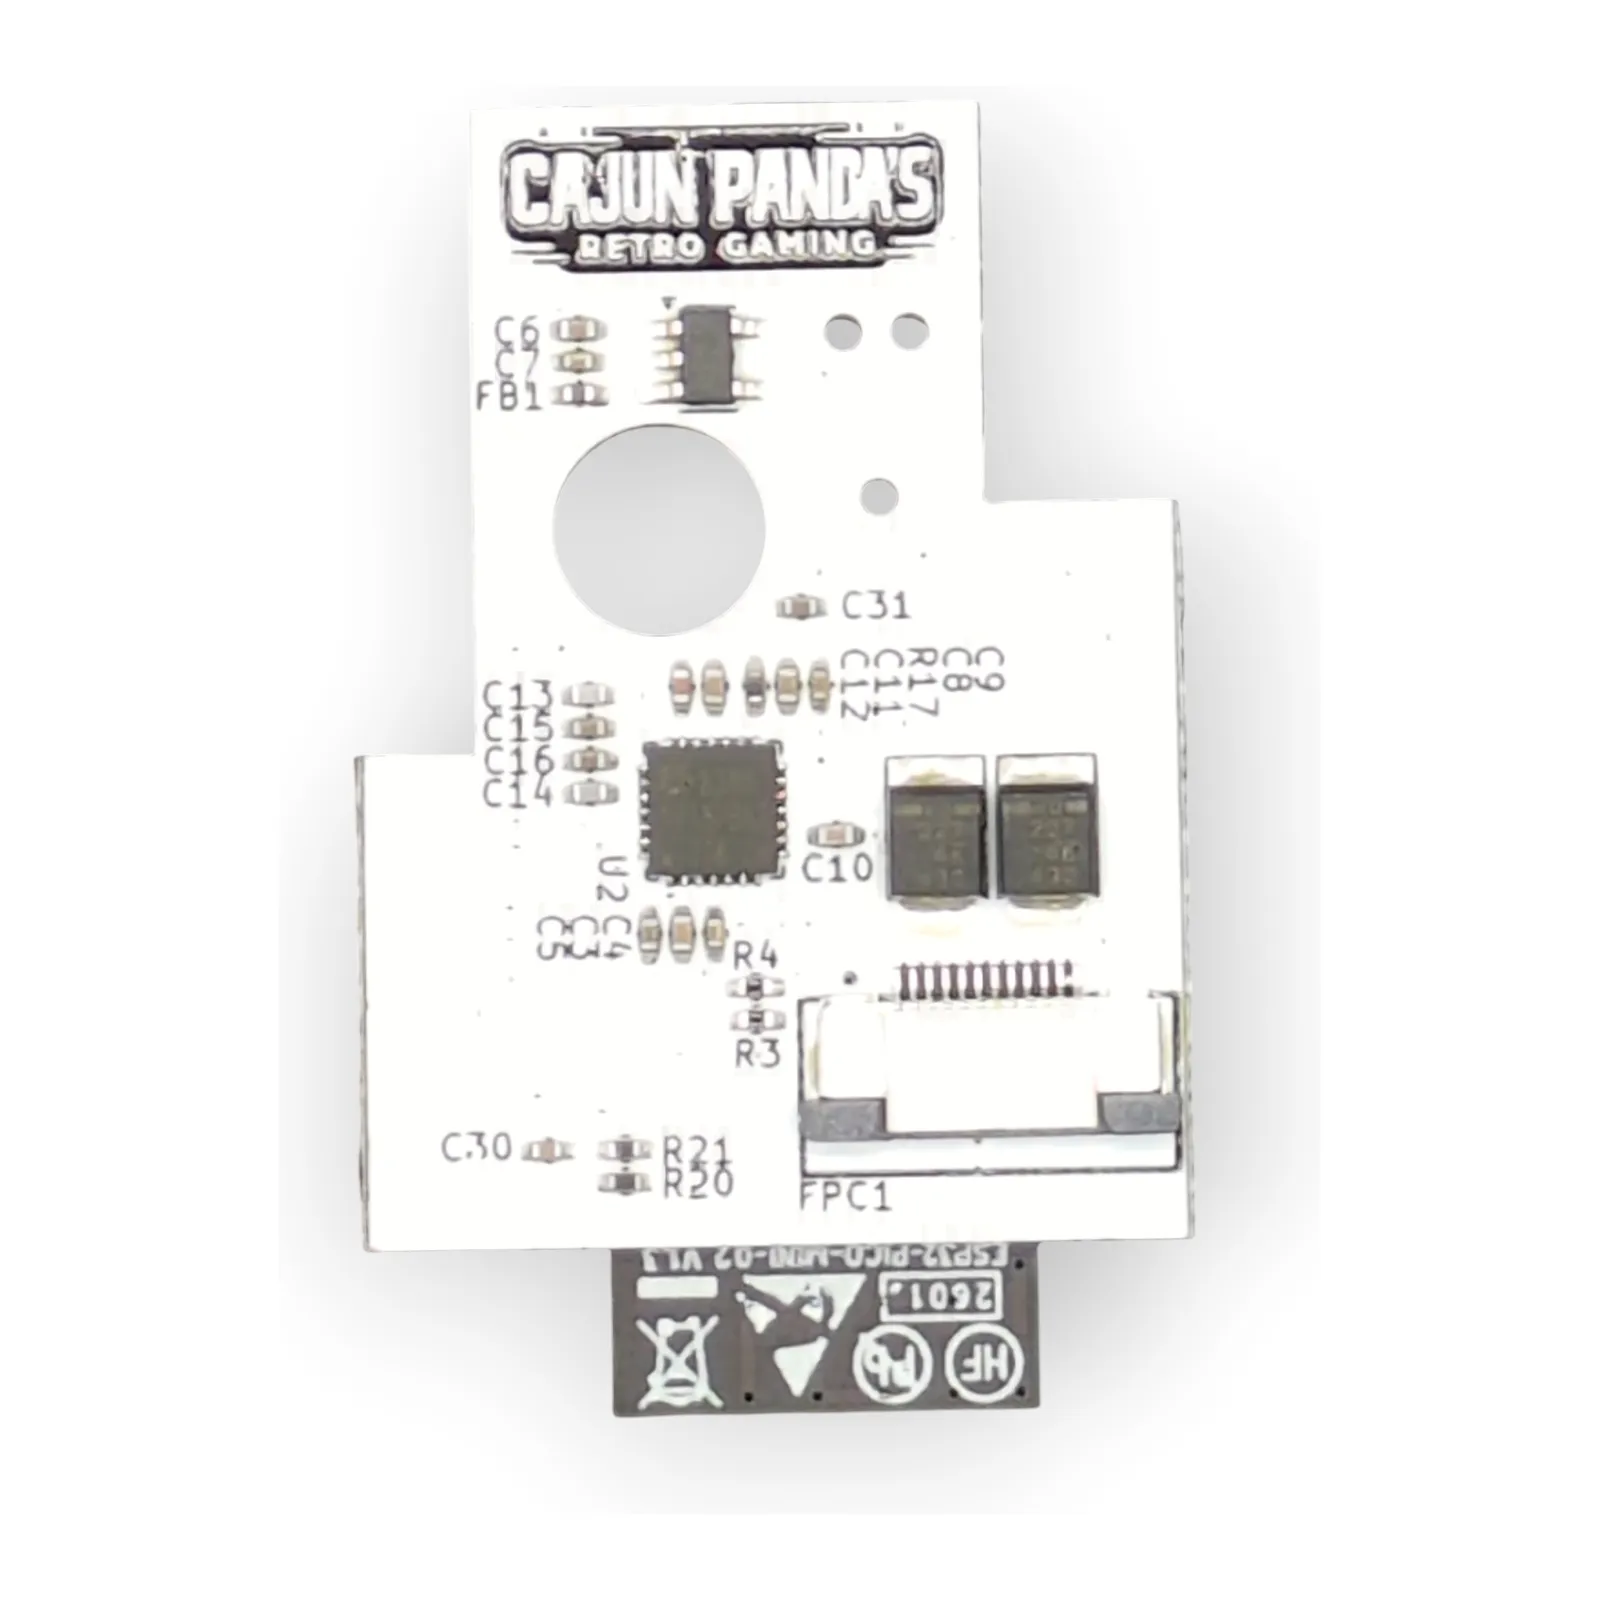
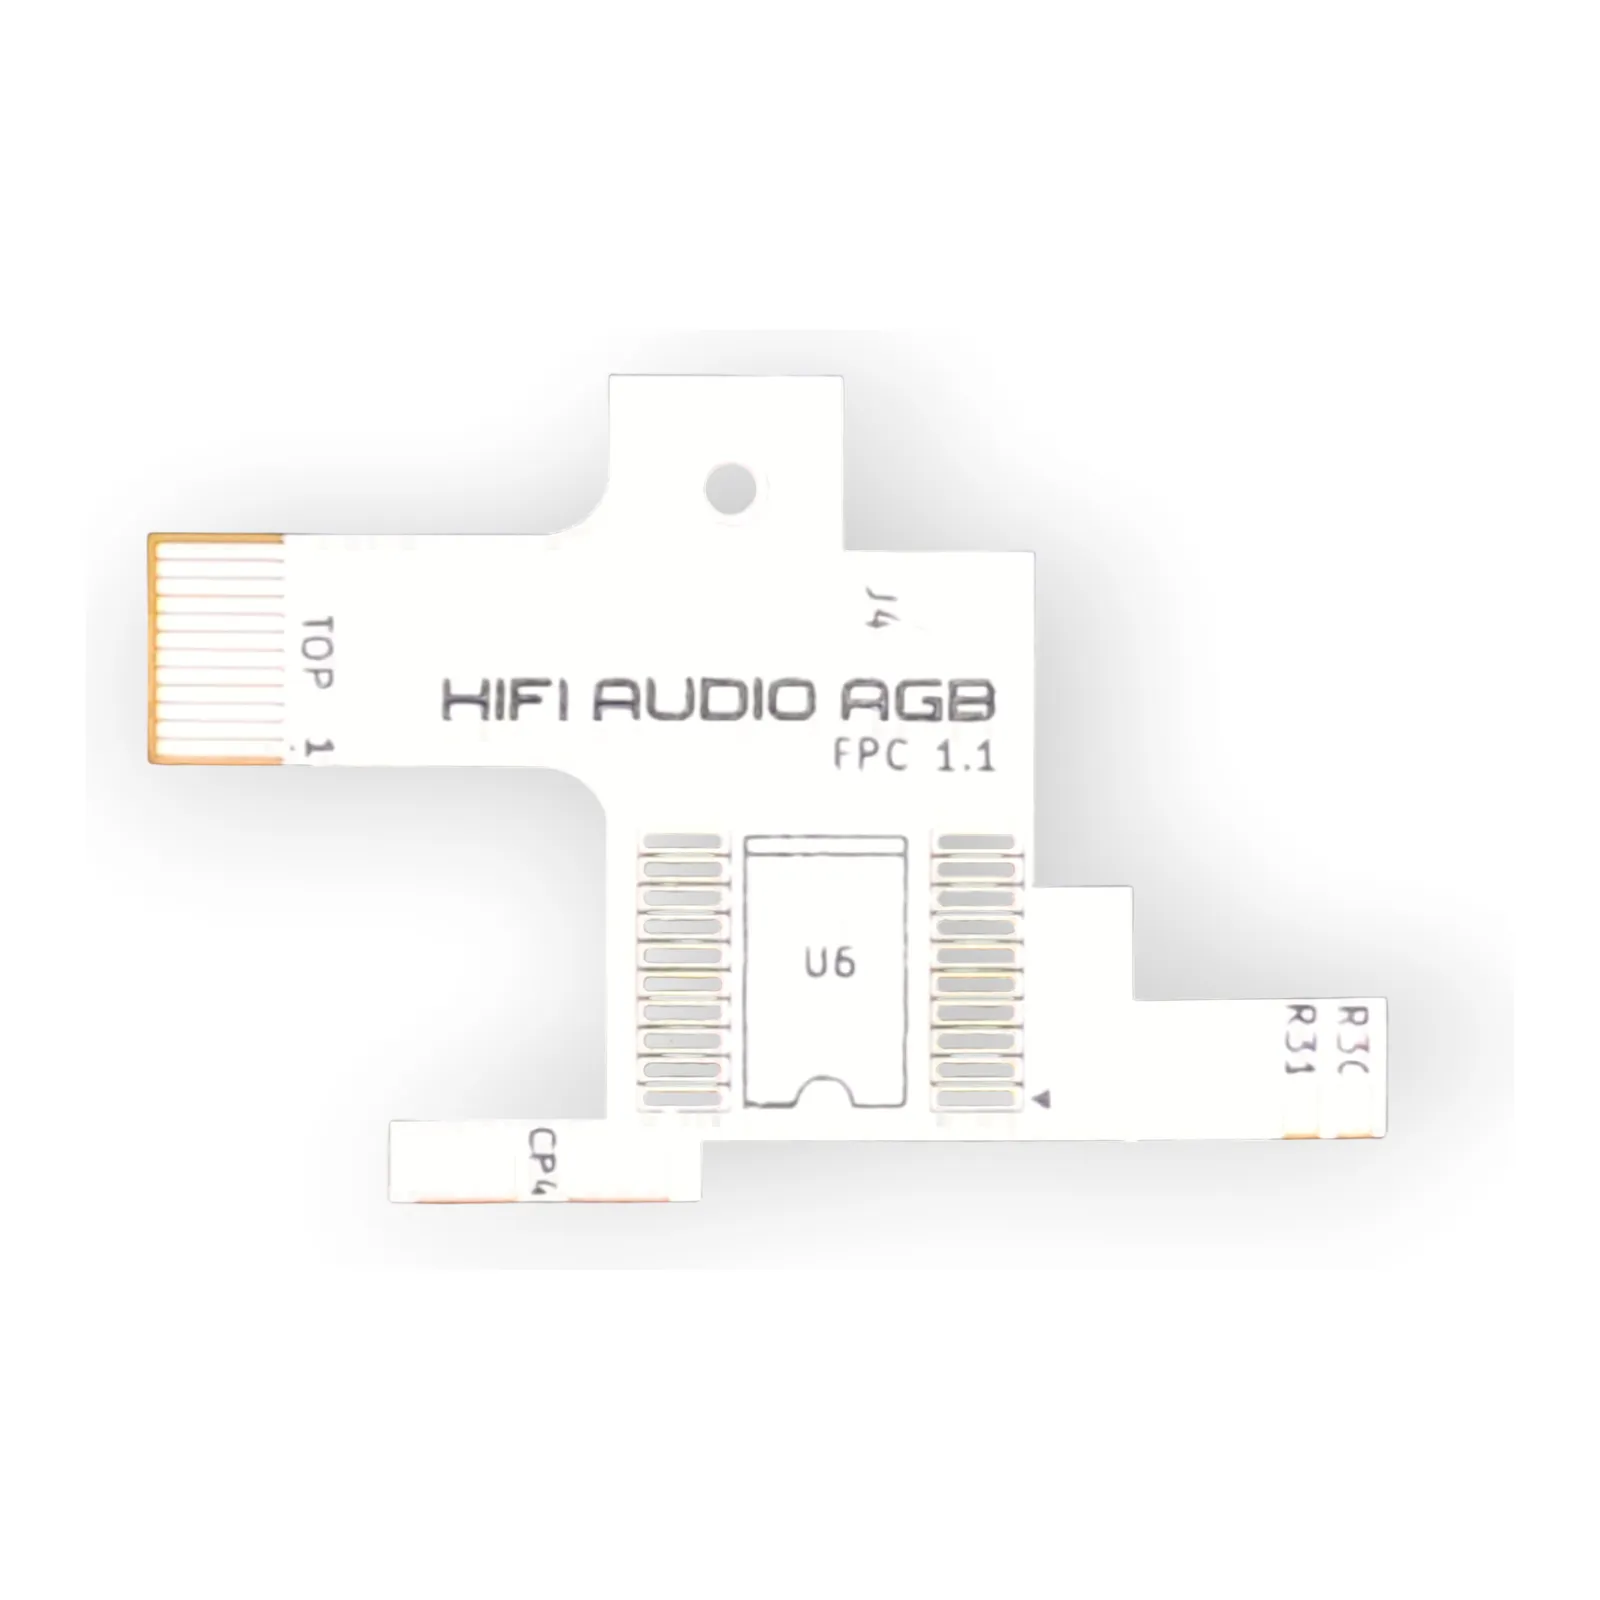
The Game Boy Advance is a good handheld with bad audio. The stock amp is noisy, the headphone jack hisses, and no amount of tapping the audio path fixes either.
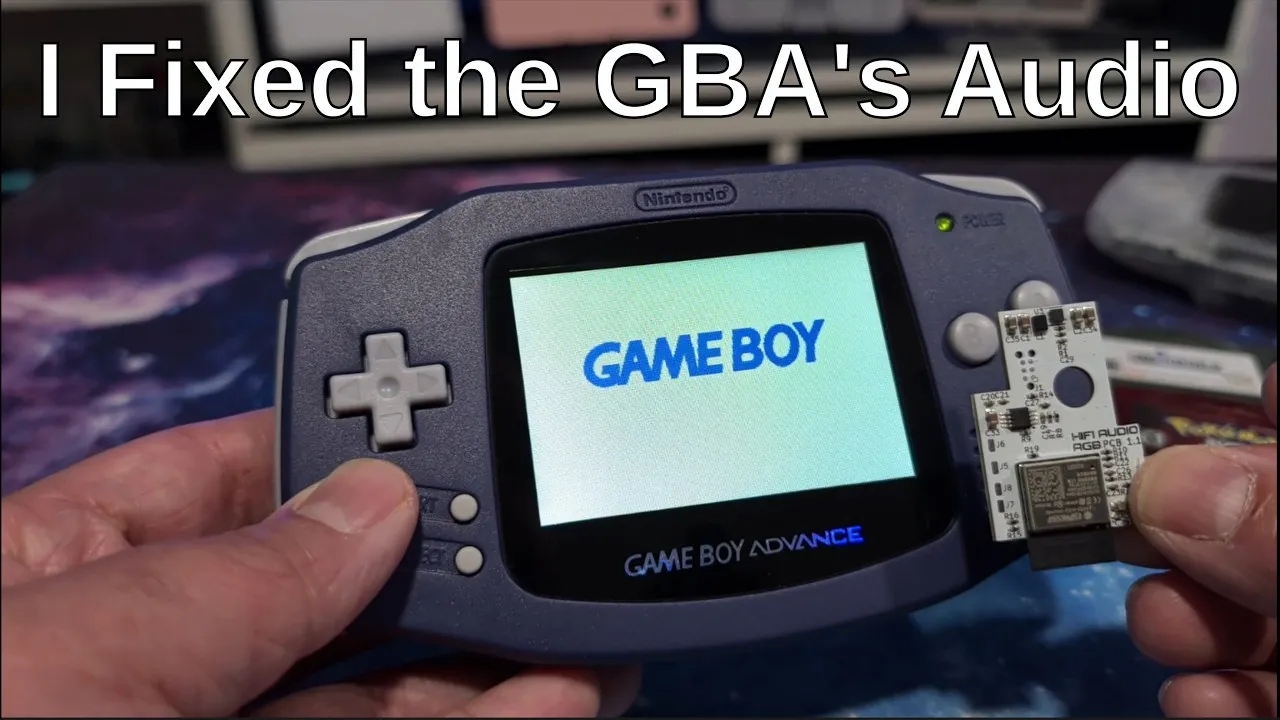
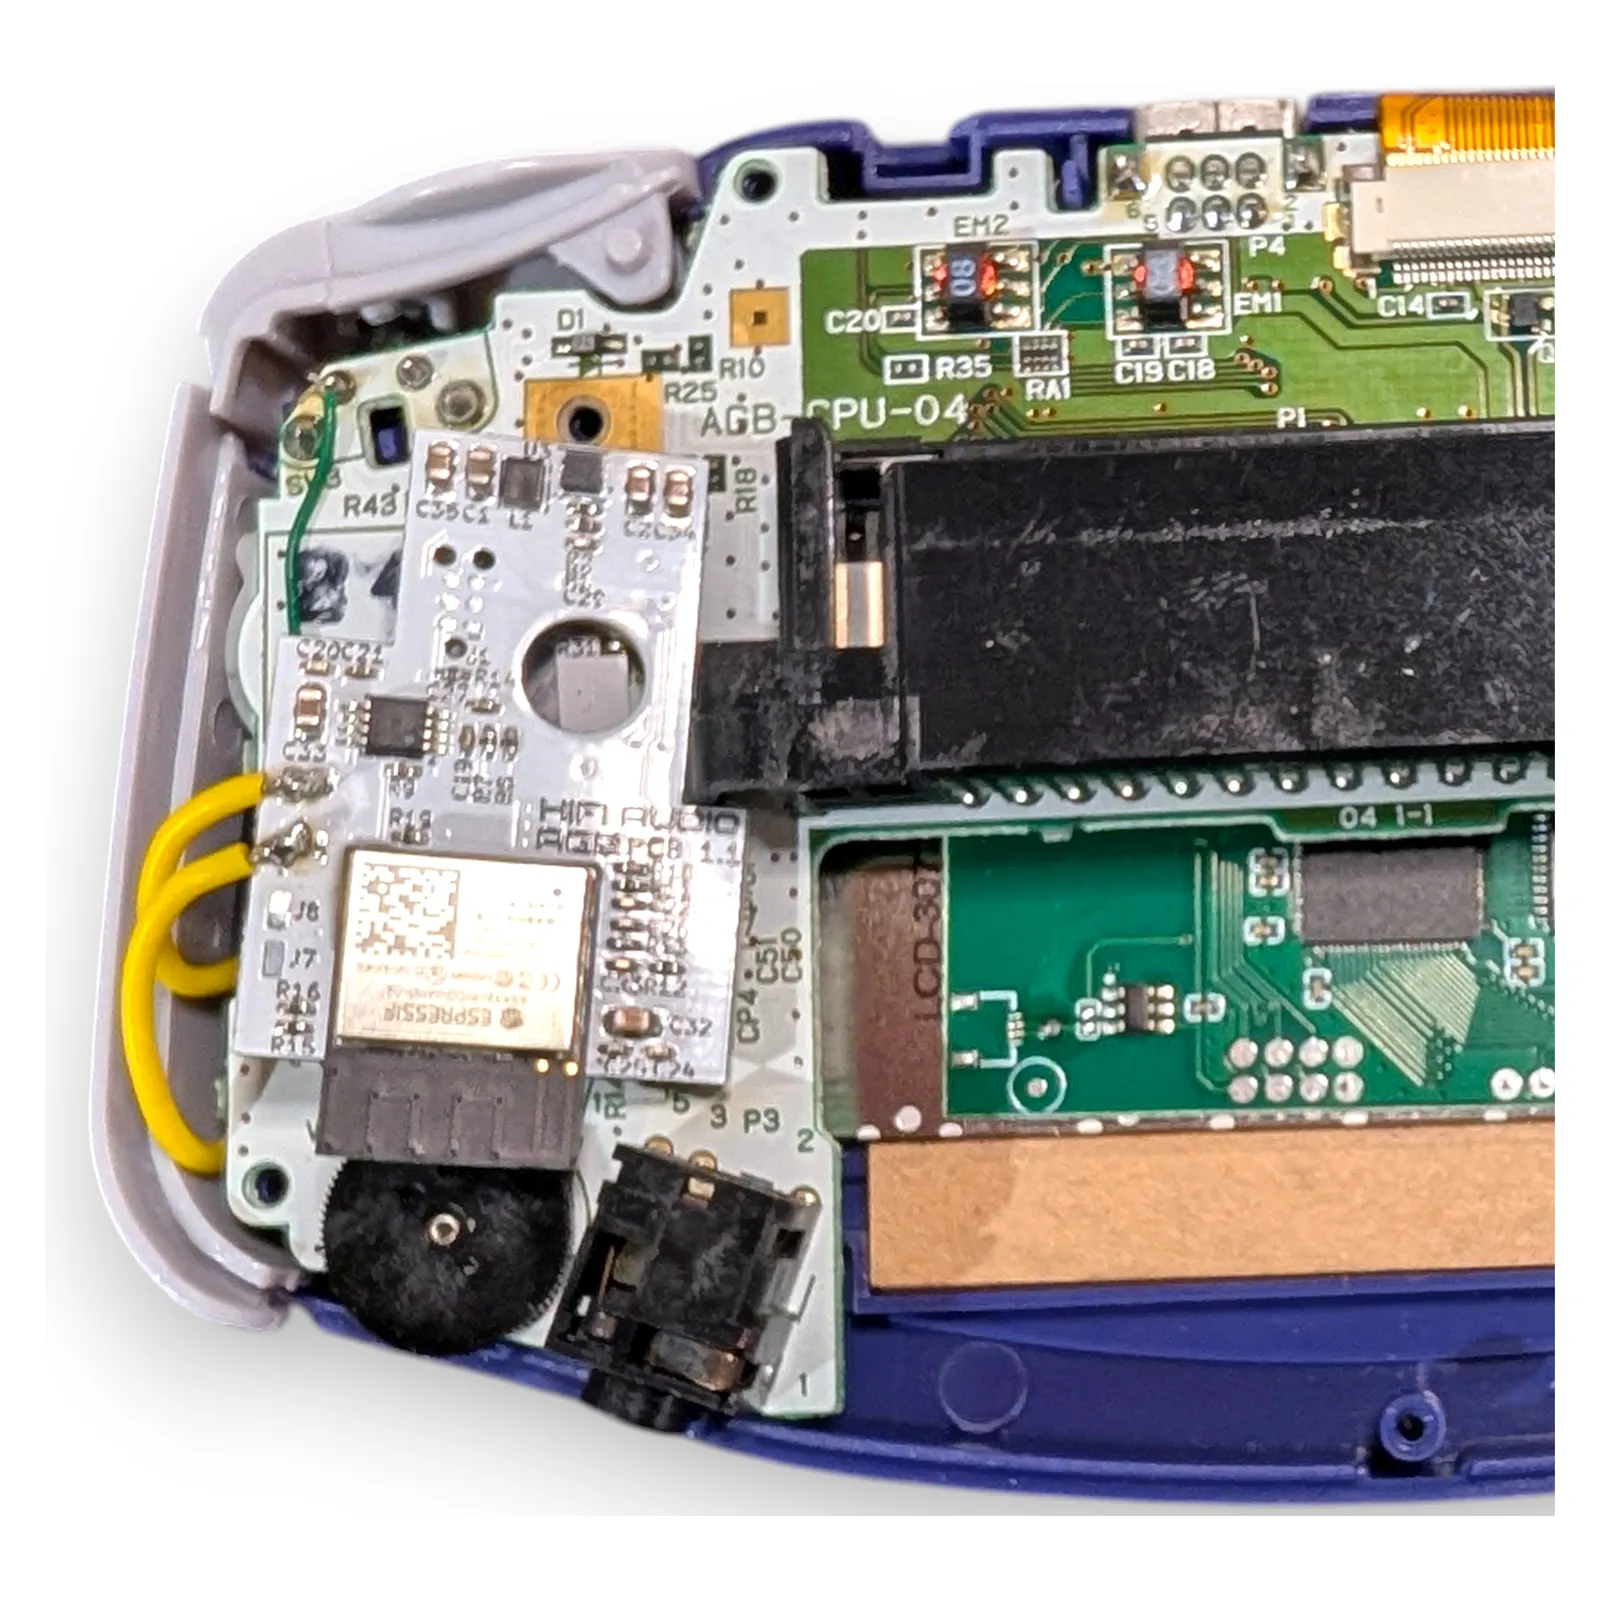
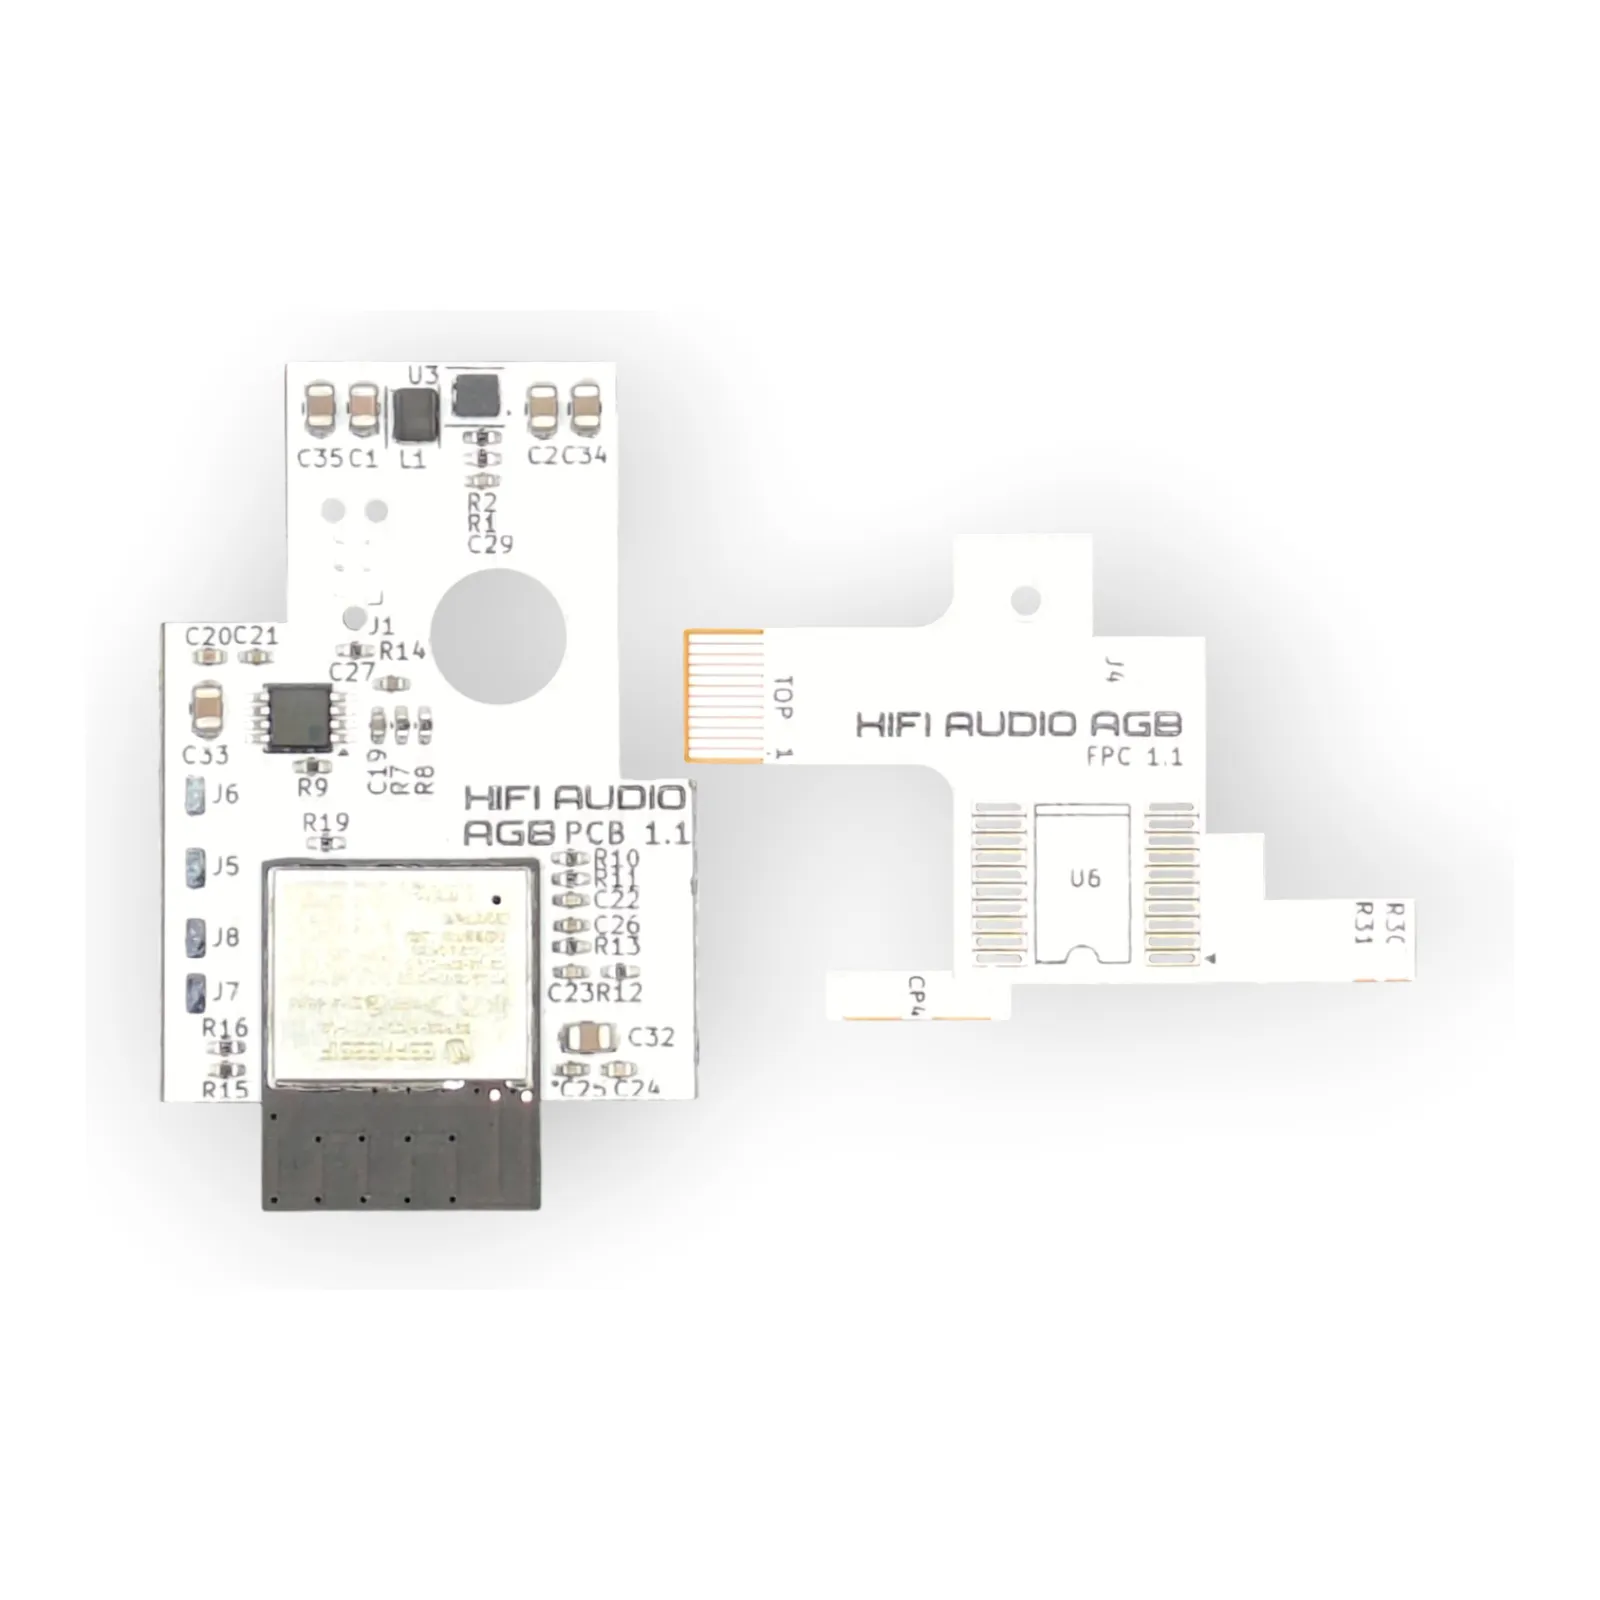
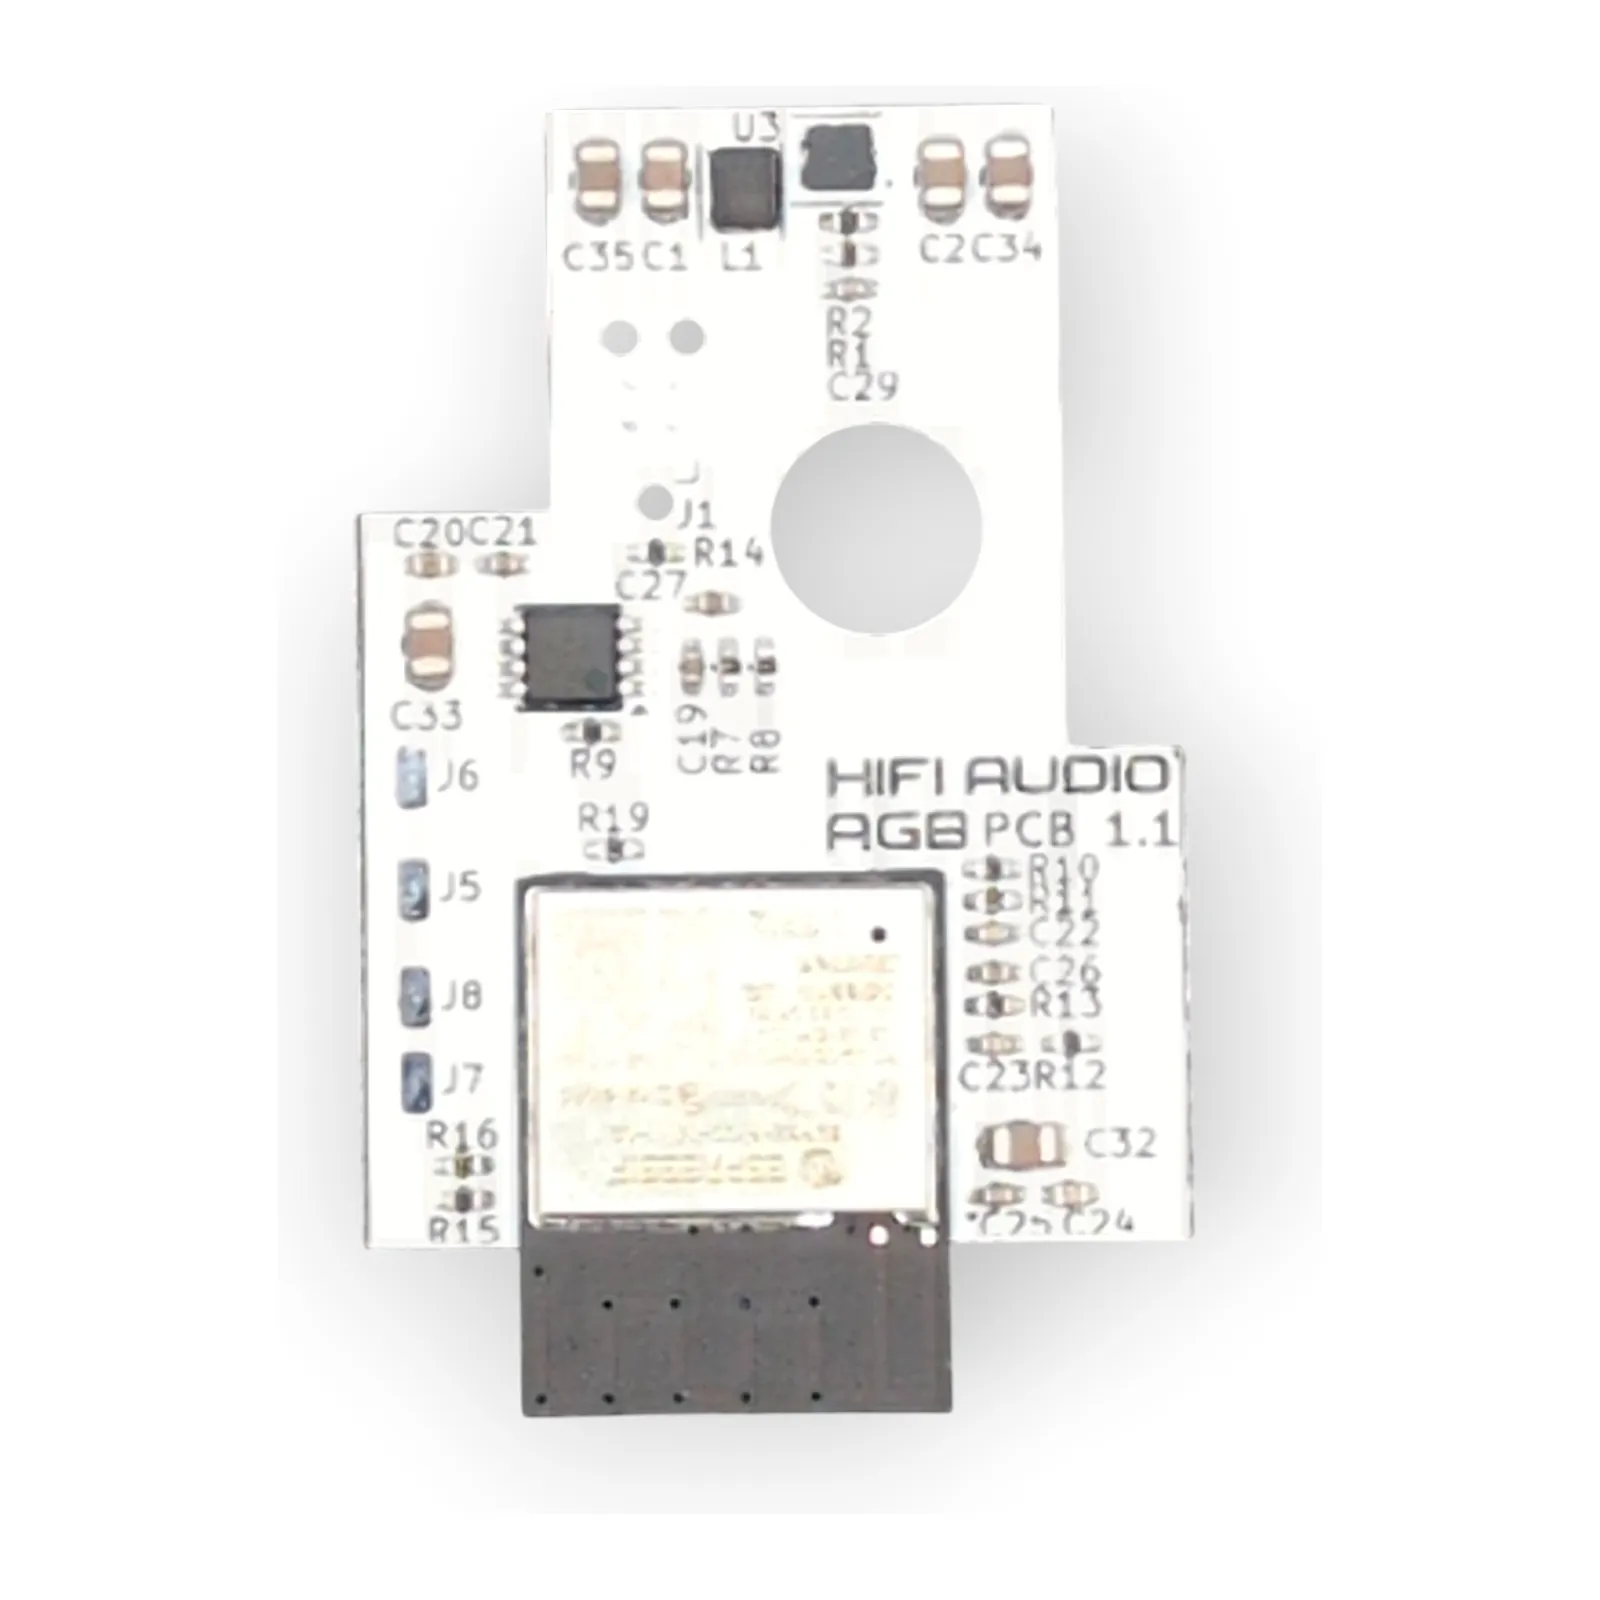
This board doesn’t tap that path. It replaces it. The stock amp comes off the mainboard and an ESP32 with an ES8388 codec takes over the audio back end:
- Bluetooth (A2DP) to any headphones or speaker, with nothing hanging off the jack
- The internal speaker and the wired jack run through the codec too, so they sound better than stock, not just the Bluetooth path
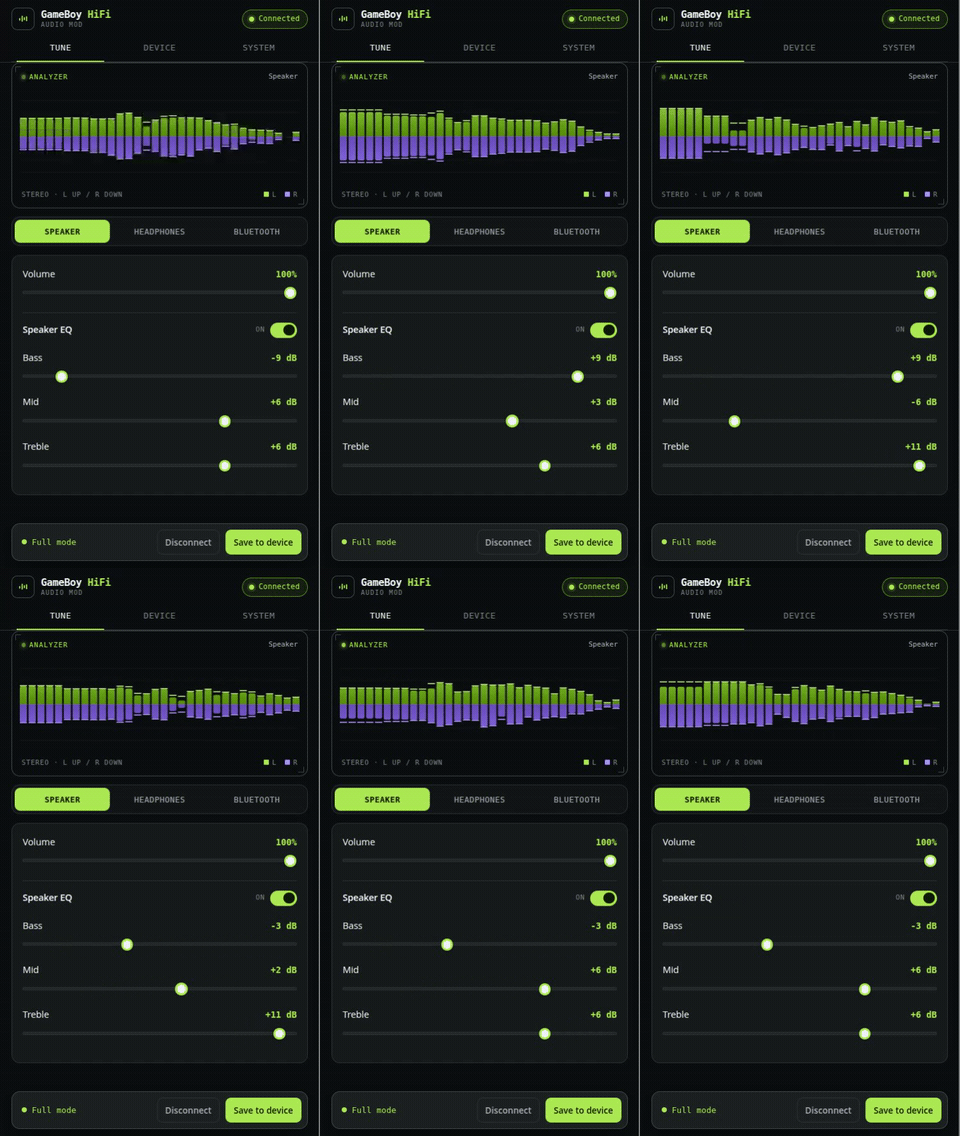
- Bass, mid, and treble, set separately for speaker, wired, and Bluetooth
- Startup sound of your choice, including your own MP3
- Battery saver mode: radio and processor asleep, audio passed through in analog
- Firmware updates over Bluetooth
Hear it
The same twelve seconds of Metroid Zero Mission, recorded off one console, once with the filters off and once with the default profile on. The two clips are aligned, so starting one picks up where the other left off.
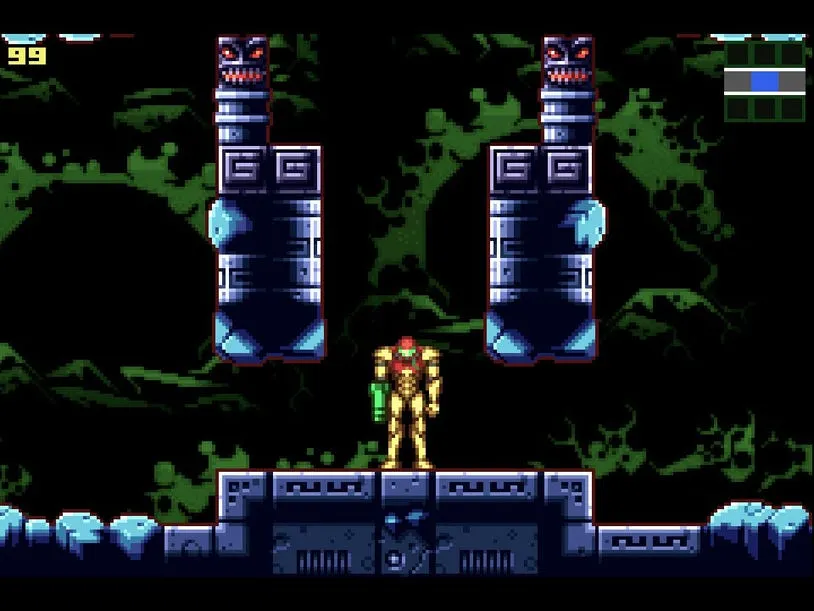
Filters off
Codec straight through. No EQ, no smoothing.
EQ + smoothing on
The default profile: EQ plus the reconstruction filter.
The hiss is the part to listen for. It’s the console’s own sample-rate noise, and the reconstruction filter takes it out; the EQ does the rest. Measured across these two clips, that’s about 15 dB less hash above 9 kHz and about 5 dB more through 1 to 6 kHz.
One control, the R button. It works as a normal R in games; holding it chimes at 3, 6, and 9 seconds. Let go on the one you want: connect saved headphones, pair something new, switch modes. The manual covers the rest: pairing, the two modes, the config page, and troubleshooting.
On a fresh pair of AAs, expect about 13 hours on the speaker, about 14 in battery saver, and about 9 streaming over Bluetooth. A backlit IPS screen draws more than this board does and roughly halves all three.
Seen elsewhere
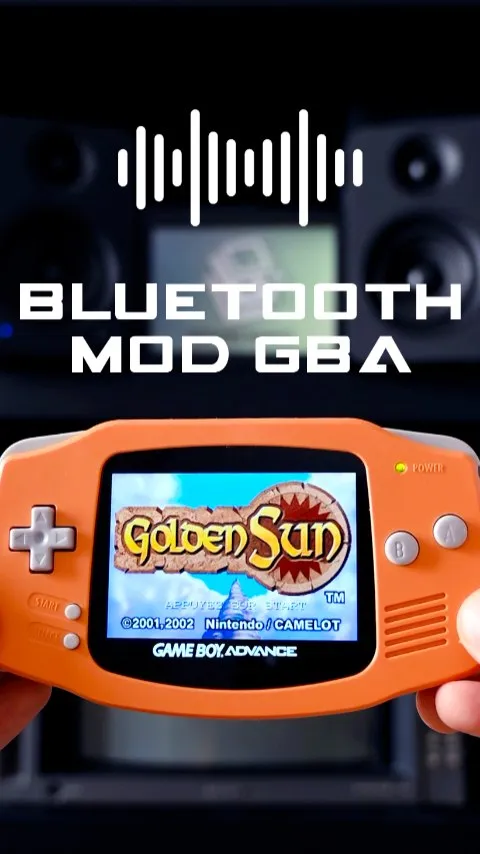
@moddingmarius beta tested the mod and posted the first look at it, on an orange AGB running Golden Sun. Thanks for the hours on the bench and the honest notes.
What’s in the kit
- Main board, assembled and flashed with the current firmware
- Flex, assembled
You supply the Game Boy Advance.
Speaker add-on, $10
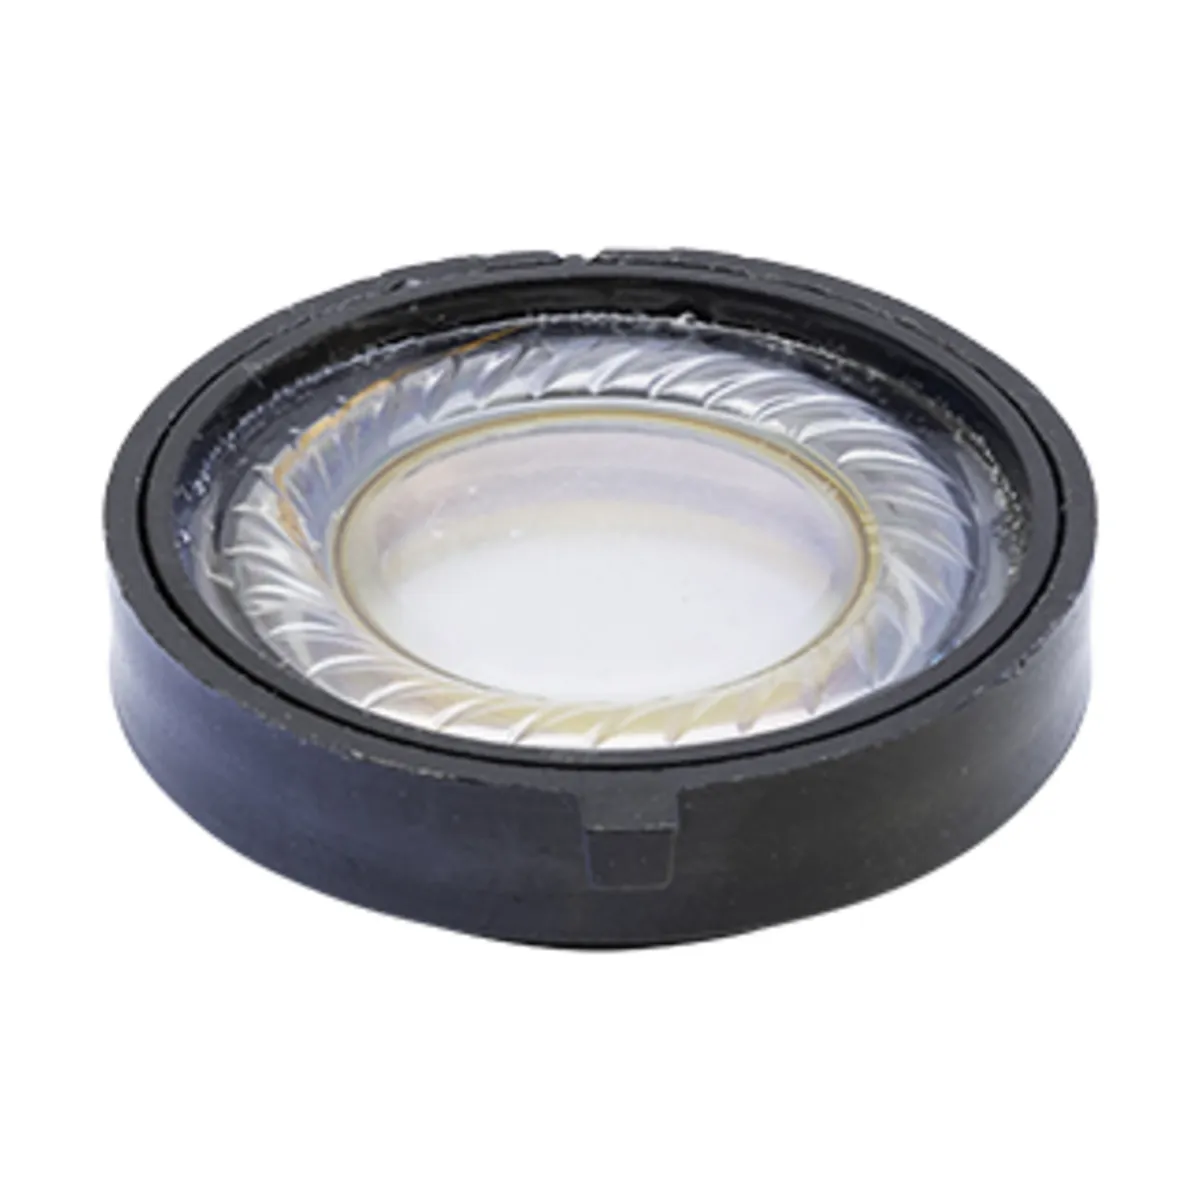
The board drives the console’s own speaker, and a 20-year-old paper cone is the weakest part of the path. The recommended replacement is the Same Sky CMS-2207-18SP, and it ships pre-soldered with leads on, ready to drop in.
| Impedance | 8 Ω |
| Power | 1 W rated, 1.5 W max |
| SPL | 97 dB at 1 W / 10 cm |
| Response | 660 Hz to 20 kHz |
| Size | Ø22.5 × 7 mm, 5.5 g |
| Cone / magnet | PEN, neodymium |
Pick a kit option with the speaker in it to add one. Datasheet.
For repair and modding shops
Four kits for $249.95, in the same dropdown as the single kit. Same boards, same firmware, same box; the discount is for shops that install these for customers. Speakers can come with the pack, one per kit, for $20 on top.
Need more than four, or want them in a run of a specific console? Email the shop and I’ll work out the pricing.
Installing it
This is not a drop-in. The install lifts the stock amp, its coupling caps, and two resistors off the GBA mainboard with hot air, then solders the flex onto those same footprints and moves the speaker over to the new board. It’s fine-pitch work and it’s permanent: the mod becomes the console’s audio system.
The install guide and a video walkthrough cover the whole job. If that isn’t work you do, have it done by someone who does.
The AGB board is the first one. Firmware is shared across models, so other Game Boys follow as the boards get drawn.